Introduction
In previous article, we learned how to install Resgate and use it to create a next generation API with a simple Hello World service.
This time we will look at how to update the data, and have all the clients synchronized in real time, based on the Edit Text example found in the ResgateIO.Service library for .NET.
You will learn how to:
- ✔️ Create a .NET Core service using ResgateIO.Service
- ✔️ Call remote methods
- ✔️ Update a data model
- ✔️ Create a web client using ResClient
- ✔️ Get real time updates on the client
Result
Preparations
In previous article, we learned how to install Resgate (and NATS) using 3 docker commands.
Done? Then we may continue.
Create a solution
The example can also be downloaded from the GitHub repository.
- Open Visual Studio 2017 (or your preferred .NET IDE).
- From the File menu, select New > Project.
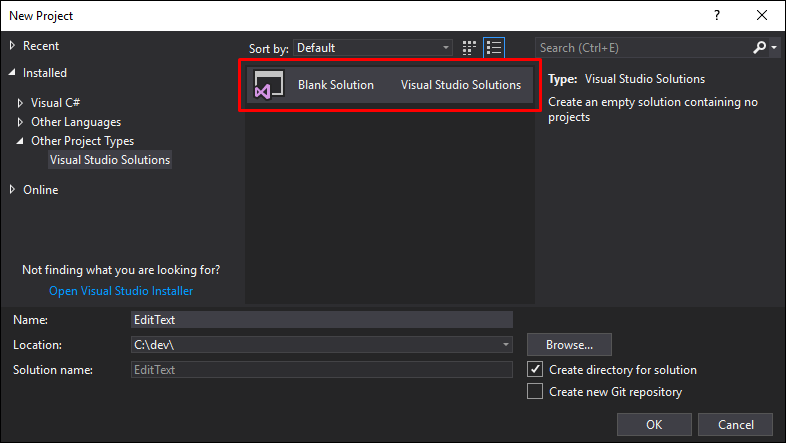
- Select the Blank Solution template.
- Name the project EditText and click OK.
Create a service
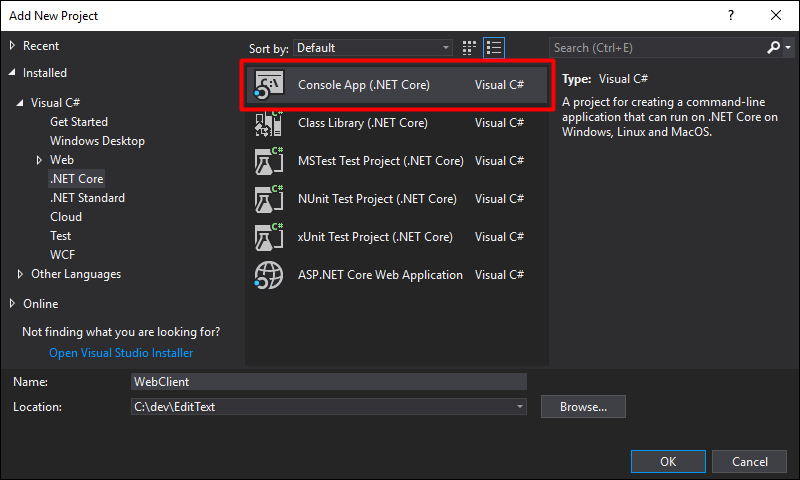
- Right-click on the Solution in the Solution Explorer, select Add > New Project….
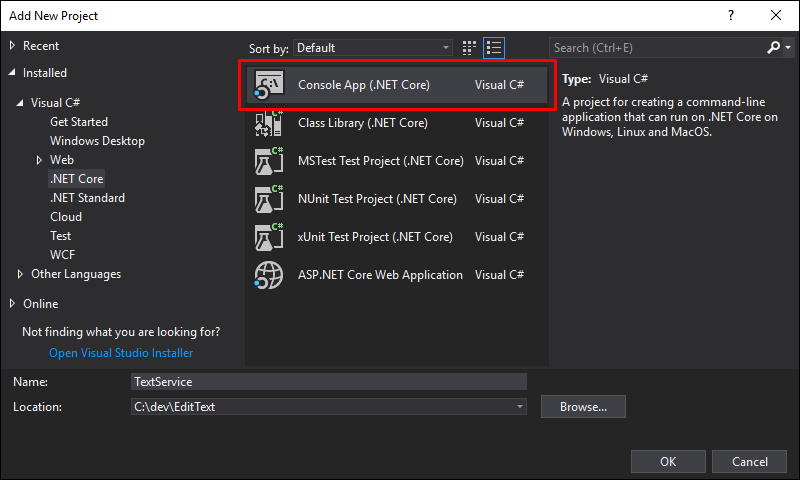
- Select the Console App (.NET Core) template.
- Name the project TextService and click OK.
Install NuGet dependencies
-
From the Tools menu, select NuGet Package Manager > Package Manager Console.
-
Run the install commands:
Install-Package ResgateIO.Service
Install-Package Newtonsoft.Json
Or, you can install them the way you are used to.
Write the request handler
A handler is a class that handles API requests, much like the ApiController when using ASP.NET Core.
- Right-click the TextService project in the Solution Explorer, select Add > New Item…. (Or press Ctrl + Shift + A)
- Select the Class template.
- Name the class TextModelHandler.cs and click Add.
- Edit the TextModelHandler.cs file with the following code:
using Newtonsoft.Json;
using ResgateIO.Service;
using System.Collections.Generic;

namespace TextService
{
    class TextModelHandler : BaseHandler
    {
        class TextModel
        {
            [JsonProperty(PropertyName = "message")]
            public string Message;
        }
        private readonly TextModel model = new TextModel { Message = "Hello, C# World!" };

        public void Get(IModelRequest request)
        {
            request.Model(model);
        }

        public void Access(IAccessRequest request)
        {
            request.AccessGranted();
        }

        [CallMethod("set")]
        public void Set(ICallRequest request)
        {
            var modelParams = request.ParseParams<TextModel>();
            if (modelParams.Message != null && modelParams.Message != model.Message)
            {
                model.Message = modelParams.Message;
                request.ChangeEvent(new Dictionary<string, object> { { "message", model.Message } });
            }
            request.Ok();
        }
    }
}
Code explanation
class TextModelHandler : BaseHandler
BaseHandler is like the ControllerBase of ASP.NET Core. It implements the necessary interface and makes it easy to write API request handlers.
class TextModel
{
    [JsonProperty(PropertyName = "message")]
    public string Message;
}
private readonly TextModel model = new TextModel { Message = "Hello, C# World!" };
TextModel defines the data structure, and model is the singleton in-memory representation of it.
public void Get(IModelRequest request)
{
    request.Model(model);
}
The Get method takes a get requests and returns the resource data; our model object.
public void Access(IAccessRequest request)
{
    request.AccessGranted();
}
The Access method lets us verify any access token, if needed. But for this tutorial, we grant full access to everyone.
[CallMethod("set")]
public void Set(ICallRequest request)
{
    var modelParams = request.ParseParams<TextModel>();
    if (modelParams.Message != null && modelParams.Message != model.Message)
    {
        model.Message = modelParams.Message;
        request.ChangeEvent(new Dictionary<string, object> { { "message", model.Message } });
    }
    request.Ok();
}
The Set method can be invoked by the client to update the message. The ChangeEvent will tell Resgate about the update, which in turn will be sent to any subscribing clients.
Add the handler
Now we need to register the handler, and start listening for requests.
- Edit the Program.cs file with the following code:
using ResgateIO.Service;
using System;

namespace TextService
{
    class Program
    {
        static void Main(string[] args)
        {
            ResService service = new ResService("text");
            service.AddHandler("model", new TextModelHandler());
            service.Serve("nats://127.0.0.1:4222");
            Console.ReadLine();
        }
    }
}
Code explanation
ResService service = new ResService("text");
Creates a ResService instance. The name "text" is the service name, and will be prefixed to all resource IDs for this service. Like a namespace.
service.AddHandler("model", new TextModelHandler());
Adds the handler under the path "model". Prefixed with the service name, the full resource ID will be "text.model". With HTTP, you can access it at http://localhost:8080/api/text/model.
service.Serve("nats://127.0.0.1:4222");
Starts to serve requests. Instead of running a webserver, the service listens for requests over NATS server. This makes the service smaller, and the architecture simpler.
Create a client
To try out the realtime API, we will create a simple web client.
- Right-click on the Solution in the Solution Explorer, select Add > New Project….
- Select the Console App (.NET Core) template.
- Name the project WebClient and click OK.
Install NuGet dependencies
-
From the Tools menu, select NuGet Package Manager > Package Manager Console.
-
Run the install commands:
Install-Package Microsoft.AspNetCore -ProjectName WebClient
Install-Package Microsoft.AspNetCore.StaticFiles -ProjectName WebClient
Write the client server
- Open Program.cs for the WebClient project in Solution Explorer.
- Enter the following code:
using Microsoft.AspNetCore.Builder;
using Microsoft.AspNetCore.Hosting;
using System.IO;

namespace WebClient
{
    class Program
    {
        static void Main(string[] args)
        {
            var host = new WebHostBuilder()
                .UseKestrel()
                .UseWebRoot(Path.Combine(Directory.GetCurrentDirectory(), "wwwroot"))
                .Configure(x => x.UseFileServer())
                .UseUrls("http://localhost:8081")
                .Build();
            host.Run();
        }
    }
}
Write the client
- Right-click the WebClient project in the Solution Explorer, select Add > New Folder.
- Rename the folder wwwroot.
- Right-click the wwwroot folder, select Add > New Item….
- Select the HTML Page template.
- Name the file index.html and click Add.
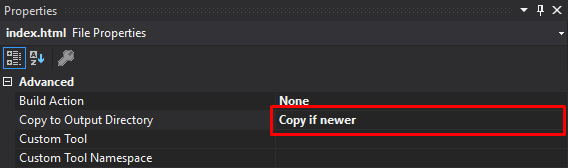
- Right-click the index.html file, select Properties.
- Change the Copy to Output directory dropdown value to Copy if newer.
- Edit the index.html file with the following code:
<!DOCTYPE html>
<html>
<head>
    <meta charset="UTF-8" />
    <script src="https://cdn.jsdelivr.net/npm/resclient@latest/dist/resclient.min.js"></script>
</head>
<body>
    <div id="root"><input id="input" /></div>
    <script>
            const ResClient = resclient.default;
            let client = new ResClient('ws://localhost:8080');
            client.get('text.model').then(model => {
                input.value = model.message;
                input.addEventListener('input', () => {
                    model.set({ message: input.value });
                });
                model.on('change', () => {
                    input.value = model.message;
                });
            }).catch(err => root.textContent = err.message);
    </script>
</body>
</html>
Code explanation
<script src="https://cdn.jsdelivr.net/npm/resclient@latest/dist/resclient.min.js"></script>
Loads ResClient, a library that uses WebSocket to connect to Resgate for fetching data with real time updates.
let client = new ResClient('ws://localhost:8080');
Creates a new instance of ResClient with the URL to Resgate.
client.get('text.mymodel').then(model => {
Gets the resource from the service, and returns a promise for the result.
input.value = model.message;
Sets the value of the input box to the text message ("Hello, C# World!").
input.addEventListener('input', () => {
    model.set({ message: input.value });
});
Adds an input listeners so that every time you type something, the remote set method will be called.
model.on('change', () => {
    input.value = model.message;
});
Adds a change listeners so that whenever the model is updated by the service, the input will be set to that value.
Running the solution
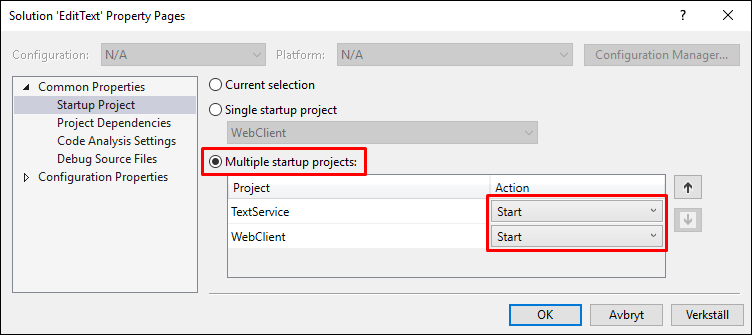
- Right-click on the Solution in the Solution Explorer, select Set StartUp Projects….
- Select the Multiple startup projects radio button.
- Set both project actions to Start and click OK.
- Build and run the projects by pressing F5.
(You did install Resgate and NATS Server, right?) - Open your favorite browser.
- Open two tabs, and in both tabs, go to: http://localhost:8081
- Edit the text in one tab, observe updates in the other tab.
All clients are synchronized!
Next steps
You’ve learned how to create a service that can update data and have it reliably synchronized to all clients, using Resgate.
For more information, examples, guides, and live demos, visit Resgate.io.