Introduction

Resgate, the tiny real-time API gateway with its 7MB docker image, may not seem like much, but provides plenty of benefits.
It turns microservices from full blown HTTP servers to cheap client services. It grants them the power to keep clients updated and synchronized, simplifies architecture, and reduces overhead, while remaining as easy to work with as your ordinary REST API. Or easier.
It uses a service-turned-client approach, with NATS Server as the messaging hub, making technologies such as service discovery and separate event streams (eg. SignalR) redundant.
This article series will go through each example found in the ResgateIO.Service library for .NET, starting with a simple Hello World service.
You will learn how to:
- ✔️ Install Resgate and NATS
- ✔️ Create a .NET Core service using ResgateIO.Service
- ✔️ Access the API with HTTP
- ✔️ Access the API with WebSocket
- ✔️ Get updates on resource changes
Preparations
We can install NATS Server and Resgate with 3 docker commands:
docker network create res
docker run -d --name nats -p 4222:4222 --net res nats
docker run --name resgate -p 8080:8080 --net res resgateio/resgate --nats nats://nats:4222
(If you don’t use Docker, there are other ways to install NATS and Resgate.)
Done!
Create a service
The example can also be downloaded from the GitHub repository.
- Open Visual Studio 2017 (or your preferred .NET IDE).
- From the File menu, select New > Project.
- Select the Console App (.NET Core) template.
- Name the project HelloWorld and click OK.

Install ResgateIO.Service
-
From the Tools menu, select NuGet Package Manager > Package Manager Console.
-
Run the install command:
Install-Package ResgateIO.ServiceOr, you can install it the way you are used to.
Write the service
- Open Program.cs in Solution Explorer.
- Enter the following code:
using ResgateIO.Service;
using System;

namespace HelloWorld
{
    class Program
    {
        static void Main(string[] args)
        {
            ResService service = new ResService("example");
            service.AddHandler("model", new DynamicHandler()
                .Get(r => r.Model(new
                {
                    message = "Hello, World!"
                }))
                .Access(r => r.AccessGranted()));
            service.Serve("nats://127.0.0.1:4222");
            Console.ReadLine();
        }
    }
}
Now, you can build and run the service by pressing F5.
(You did install NATS Server, right?)
Access the API with HTTP
- Open your favorite browser.
- Go to: http://localhost:8080/api/example/model
- You should see:
{"message":"Hello, World!"}
It works!
Access the API with WebSocket
This tutorial does not cover writing the javascript client. Instead we will use the resgate.io - resource viewer tool.
- Open Chrome and go to: https://resgate.io/viewer/
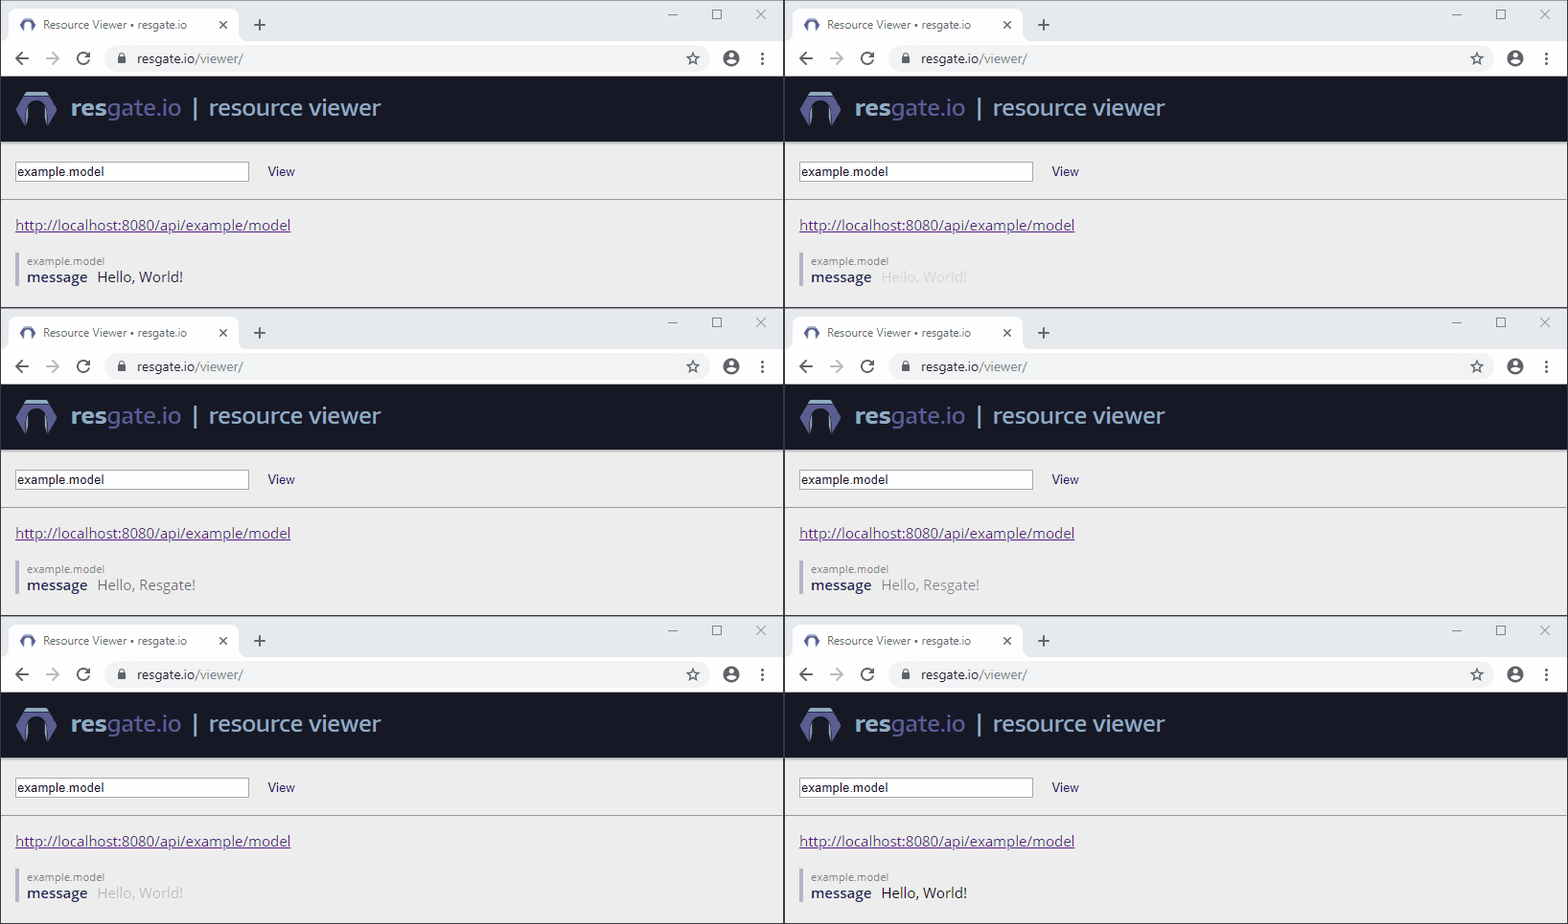
- Enter the Resource ID example.model, and click View.

You should see the same message, but this time it is fetched over WebSocket.
🛈 Chrome allows websites to connect to localhost, while other browsers may give a security error.
Real time synchronization
Now, this is the interesting part.
Resgate keeps clients synchronized when data changes. Let’s try it out:
-
In Visual Studio, stop the project.
-
In Program.cs, change the greeting message:
message = "Hello, Resgate!" -
Rebuild and run the service again by pressing F5.
In the resource viewer, you will see the message updating automatically.

Next steps
You’ve taken the first step in building next generation APIs using Resgate.
For more information, examples, guides, and live demos, visit Resgate.io.
